info@gdaddtech.cn
+86-18566873215


Installing a Glass Beveling Machine requires precision, preparation, and a clear understanding of both the mechanical and electrical systems involved. This guide provides a professional, SEO-optimized overview suitable for manufacturers, workshops, and glass processing plants that aim to set up or upgrade their equipment efficiently and safely.
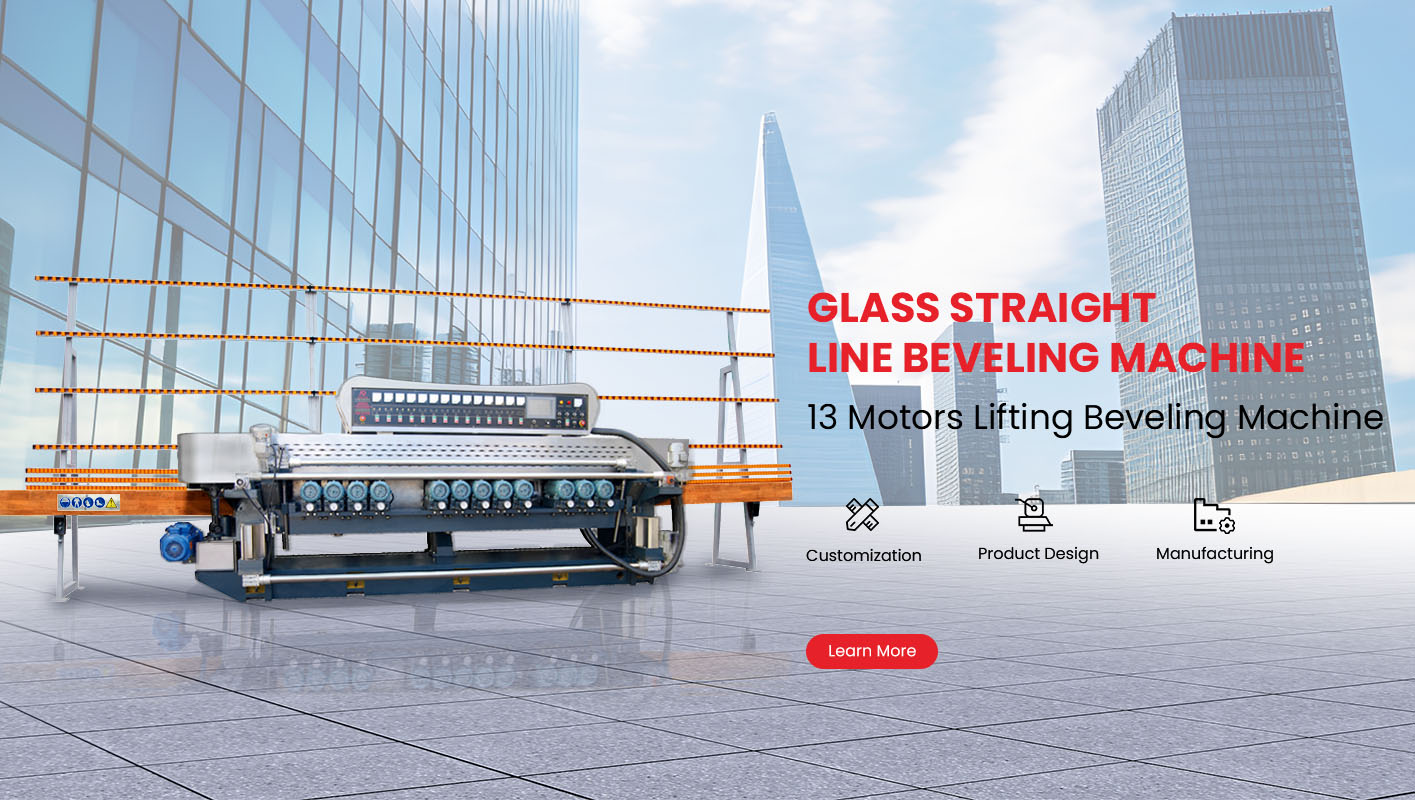
A glass beveling machine is designed to grind and polish the edges of glass sheets to create angled surfaces, known as bevels. These bevels enhance aesthetics and eliminate sharp edges for safety. The machine typically consists of a robust frame, a motor-driven conveyor, multiple grinding wheels, polishing units, and an electronic control system that ensures precise speed and angle adjustment.
In the installation phase, careful attention must be given to stability, alignment, and environmental conditions to ensure the machine delivers consistent, high-quality finishes for long-term production.
Before installation begins, it is crucial to prepare the site according to the machine’s technical requirements. The following steps ensure a smooth setup process:
Foundation and Space Planning
The machine should be placed on a flat, vibration-free surface. Reinforced concrete flooring with a minimum thickness of 200 mm is recommended for large beveling machines. Ensure at least 1 meter of clearance on all sides for maintenance and operation.
Environmental Control
Maintain ambient temperatures between 15°C and 35°C and relative humidity below 75%. Excess moisture or heat can damage electronic components and affect grinding precision.
Power Supply and Water Lines
The electrical system should comply with local industrial standards. For instance, a three-phase 380V/50Hz power supply is common. The water inlet and drainage system must be installed nearby to support the cooling and cleaning processes during glass grinding.
Use a forklift or hoist to place the base frame of the beveling machine in its designated position. Confirm the level using a precision spirit level. Proper leveling prevents uneven glass pressure and premature wear on the grinding wheels.
Attach the front and rear conveyors securely. The belts or rollers must be aligned to allow smooth glass feeding. Any deviation may cause vibration or breakage during operation.
Each spindle unit must be mounted according to the sequence specified in the machine manual. Tighten all bolts and connect the coolant pipes. Ensure the spindle alignment matches the conveyor plane to achieve uniform bevel thickness.
Connect the main power cable, motor wires, and control panel cables. Verify grounding to avoid electrical hazards. Once connected, test the control panel to ensure the emergency stop, limit switches, and indicator lights function correctly.
Connect the water inlet to the pump and the outlet to the drainage system. Use stainless steel or corrosion-resistant pipes to maintain water purity. The water flow should be sufficient to cool the glass and grinding wheels without overflow.
After assembly, perform a calibration test using a sample glass piece. Adjust conveyor speed, bevel angle, and spindle pressure according to specifications. Observe edge clarity and surface smoothness to confirm proper alignment.
| Issue | Possible Cause | Recommended Solution |
|---|---|---|
| Machine vibration | Uneven foundation or loose bolts | Recheck leveling and tighten all bolts |
| Uneven bevel thickness | Conveyor misalignment | Adjust conveyor height and roller balance |
| Poor polishing result | Low water pressure or worn polishing wheel | Clean water filters and replace the wheel |
| Electrical fault | Improper grounding | Inspect wiring and ground connections |
| Water leakage | Loose pipe fittings | Tighten joints and seal with Teflon tape |
Once installation is complete, routine maintenance ensures long-term stability and precision:
Daily Checks: Clean glass dust and water residue from the conveyor and spindles.
Weekly Inspections: Examine grinding wheel wear and replace when the diameter reduces by more than 20%.
Monthly Maintenance: Lubricate moving parts, check motor bearings, and inspect electrical connectors.
Quarterly Review: Calibrate bevel angles and conveyor speeds to maintain dimensional accuracy.
Proper maintenance helps prevent downtime and ensures consistent bevel quality across various glass types, including architectural panels and decorative mirrors.
When selecting a high-quality beveling machine or planning installation upgrades, ADDTECH offers a range of advanced glass machinery engineered for precision, durability, and ease of maintenance. Their equipment integrates automated control systems, high-efficiency motors, and modular designs that simplify both setup and daily operation. For workshops seeking to enhance productivity and finish quality, ADDTECH’s technical expertise ensures reliable installation guidance and after-sales support.
Installing a glass beveling machine is a multi-step process requiring careful site preparation, mechanical alignment, electrical connection, and final calibration. By following a structured installation plan, manufacturers can achieve smooth production, reduce operational errors, and extend machine lifespan. Choosing a dependable supplier such as ADDTECH further guarantees professional-grade equipment and ongoing technical support for your glass processing needs.